What is a DMARC Record?
DMARC is short for ‘Domain-based Message Authentication, Reporting and Conformance’. In additon to enhancing the security of your outbound mail traffic, It also tells other mail services on the internet who to report to when an unauthorized message arrives claiming to be from your domain.
DMARC is an extension to the existing SPF and DKIM authentication tools. You can’t use DMARC without at least one of these other systems but it works best with both enabled and functioning. See our other article about SPF and DKIM if you need help getting that set up first.
Setting up or Updating your DMARC Record
DMARC is a special form of a DNS TXT record. At this time cPanel doesn’t handle DMARC using the same tools used to configure SPF and DKIM, so the only way to install one is using the DNS zone editor. To begin, log into cPanel.
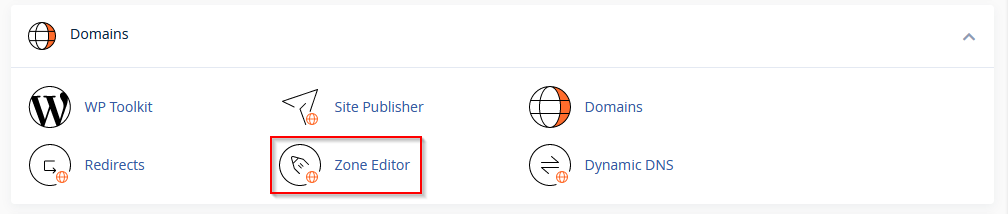
In cPanel, find the ‘Domains’ section and click the ‘Zone Editor’ icon.
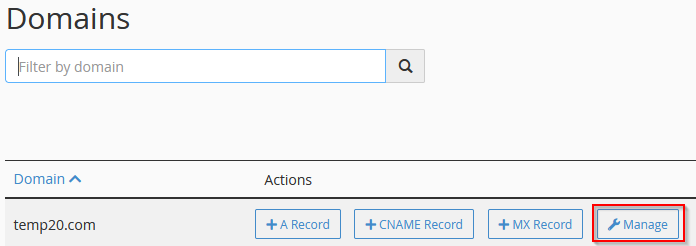
 Once you see your list of domains, find the domain you want to set up DMARC for, and click the ‘Manage’ button.
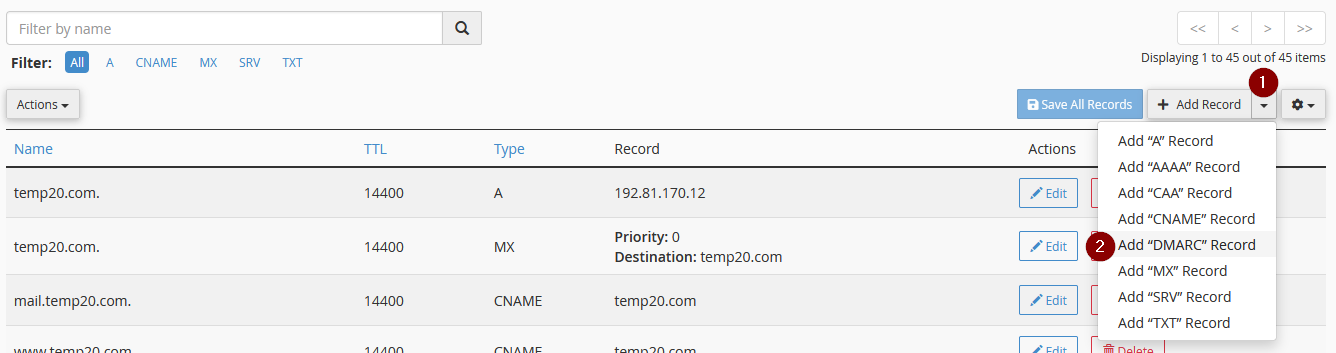
From here you can view and edit every DNS record in the zone. If you have an existing DMARC record you want to update, you can find it here by filtering for ‘TXT’ records and finding the record in the list.
To make a new DMARC record, click the small down arrow next to the ‘+Add Record’ button in the top right, and select ‘Add DMARC Record’
You’ll be presented with something like this:
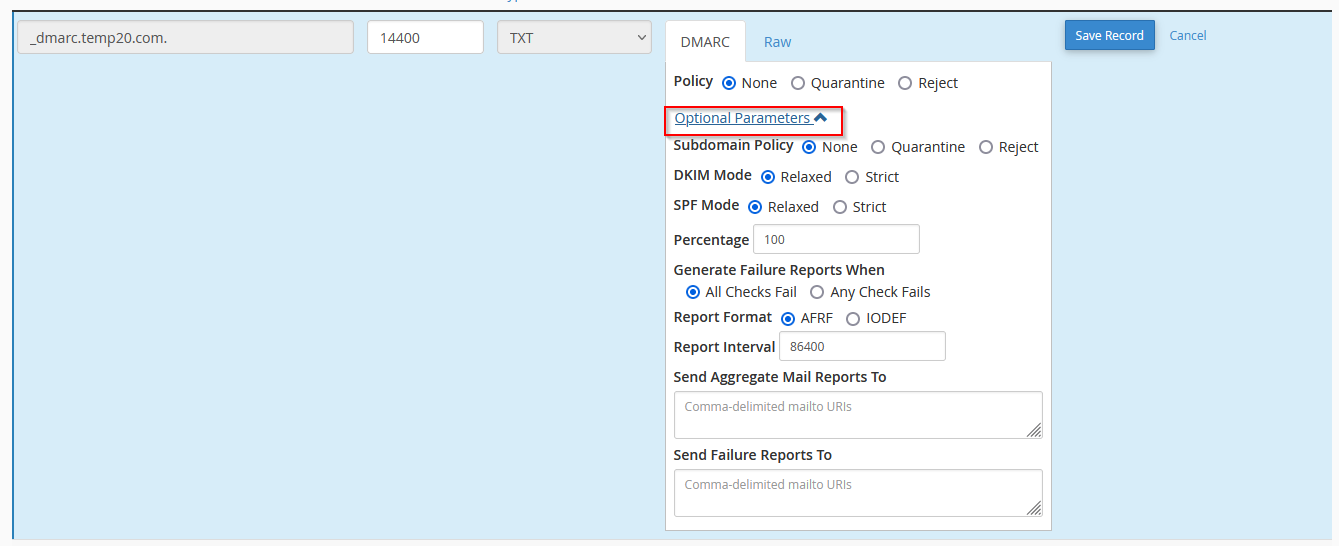 You might not see all of it at the start but you can click on the ‘Optional Parameters’ link to expand it out to the full panel. The rest of this article will go over the various settings and what you should do with them.
Policy
For your first DMARC record, it’s recommended to leave ‘Policy’ set to ‘None’ so that your mail isn’t killed if your first DMARC has an issue in it or your existing SPF and DKIM aren’t set up correctly. This is “test mode” for your DMARC. After you’ve had DMARC up and running for a while and you know your authentic mail traffic isn’t being shot down you can change the policy to better handle messages that try to forge your domain name.
Subdomain Policy
This controls what happens to messages sent from a subdomain of your domain. Almost nobody uses subdomains to send email, and if they do, they usually have dedicated DMARC, SPF, and DKIM for that subdomain. This setting applies to *other* subdomains that don’t have their own DMARC record. It should be set to the same value you have your ‘Policy’ setting set to above. For new DMARC rules, this means leaving it on ‘None’ for a while until you’re sure your normal mail is working properly.
DKIM Mode and SPF Mode
These control how strict the mail server is when it verifies that the message authenticates properly with SPF and DKIM. The default is ‘Relaxed’ but it may be better for you to switch it to ‘Strict’ to help identify spammers who attempt to skirt around SPF and DKIM checks by spoofing a subdomain of your domain.
Percentage
This should remain at ‘100’ as it controls how much of your email activity should be validated with your DMARC record.
Generate Failure Reports When
The default will only generate a report if both SPF and DKIM fail. Since SPF is meant to protect the entire domain regardless of the actual email source, and DKIM is a service-provider-specific setting, it may make more sense to switch this to ‘Any Check Fails.’ This will let you fix SPF and DKIM for those messages that you send that should be fully authenticated, but aren’t.
Messages that fail both SPF and DKIM will always be noticed by DMARC, regardless of what you set this to.
Report Format
The default is ‘AFRF’ which you’ll probably want to leave alone. If you have a need to switch it to ‘IODEF’ you can change it here though.
Report Interval
This is a value in seconds that tells other servers how often to send you reports. The default is ‘86400’ which is one day. You can change this if you want the aggregate reports to span longer periods (say, a week) but you probably should never set this to anything lower than the default.
The Two ‘Send Reports To’ settings
These last two boxes control what types of reports get generated and where they’re sent. Some mail services will ignore the ‘failure’ report setting and just not use it (notably, Google).
Aggregate reports are sent every interval, and contain a list of all that the remote service handled for your domain, and how many of them passed SPF, DKIM, and DMARC. these reports are very useful for making sure that your existing SPF and DKIM work properly before updating the ‘Policy’ to ‘Quarantine’ or ‘Reject’. You can also sometimes tell when someone’s trying to spoof your domain, and you’ll be able to tell if DMARC did its job blocking that malicious traffic.
The Failure Reports box is for forwarding individual messages that failed DMARC so you can directly determine why the message was failed, and determine if the message was legitimate or fraudulent. If you receive a fraudulent message through this reporting method it means your DMARC works. If you receive normal mail here, you may need to check your SPF and DKIM to see why the message was marked incorrectly.
These last two boxes can be left empty if you do not wish to receive reports, but it will make it harder to determine if your DMARC record is working properly. If you’re setting up a new DMARC record it’s recommended to add at least one place that aggregate reports can be sent so you can tell if everything is working. You may wish to set up a dedicated email inbox just for handling DMARC reports.
That’s it!
When you’re done customizing your DMARC record click the ‘Save Record’ button on the top right.