To get started, login to your cPanel and find the ‘Domains’ icon.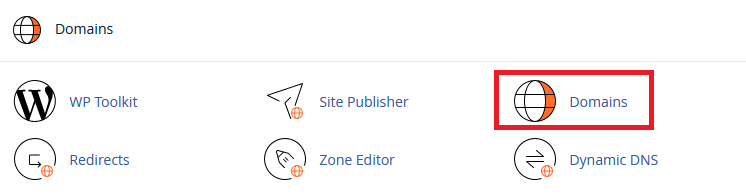 This will take you to the page used to manage all domains linked to your hosting account. To add an addon domain click the ‘Create a New Domain’ button on the right.
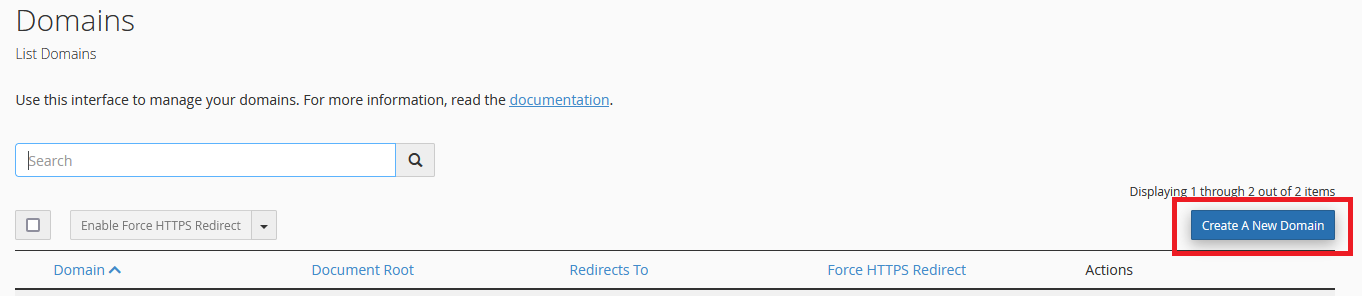 That will take you to the form used to add new domains of all types. To add an addon domain, type it into the ‘Domain’ field, and make sure you untick the ‘Share document root’ option.
The next two boxes in the form are advanced features that let you change which folder your addon domain loads from, and specify which subdomain the addon domain gets linked to internally. Unless you have a good reason, it’s probably best to leave those on their default values. It should look something like this: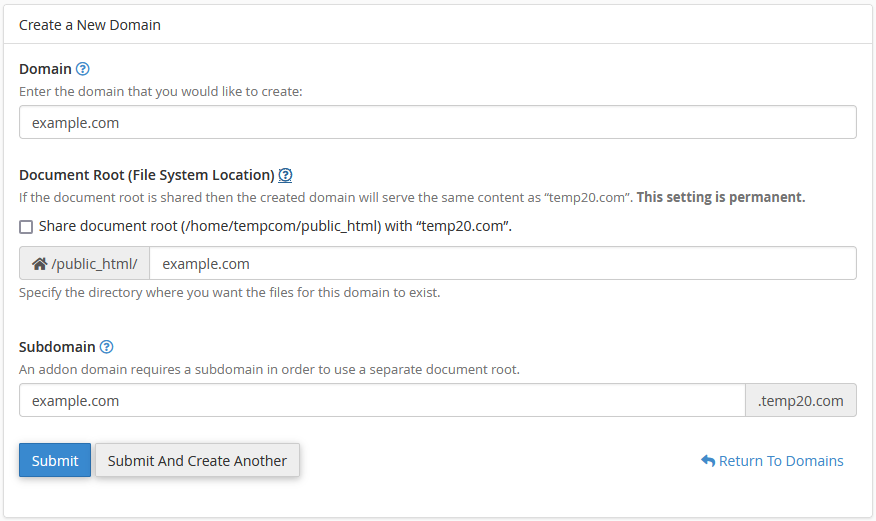 Just click ‘Submit’ once you’re done filling out the form, and your domain will be added to your account as an addon domain.
That’s it! Your new Addon Domain has been created. You can now create email addresses for your new domain and upload your website files to its document root folder using the File Manager in cPanel, FTP or using the WordPress installer in cPanel.