This article will show you the steps on how to create Private Name Servers if you’ve purchased your domain name through Google Domains.
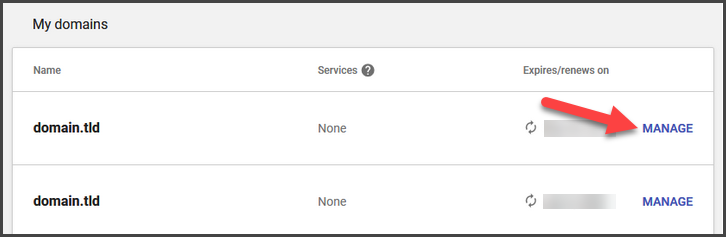
Step 1 – Login to your Google Domains account and click the Manage button beside the domain name you wish to create private name servers for.
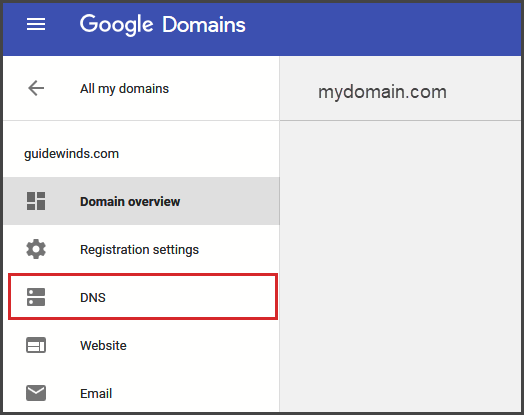
Step 2 – Click the DNS link on the left side menu. This will bring up the DNS management page for your domain name.
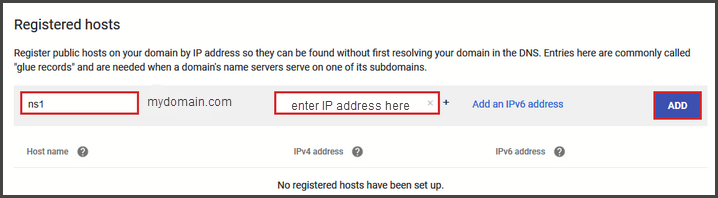
Step 3 – Scroll down to the Registered Hosts section. Enter the prefix you want your domain name to resolve to. Next, enter the IP address you want the name server to point to. Click Add to finish creating the name server record.
You will see your newly created Registered Host now listed below the data entry boxes.
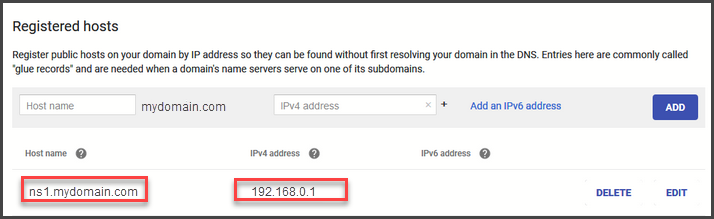
You can now repeat the steps above to create additional name servers. Typically 2 name servers should be created.